
4 Lighting Tips For the Best Wedding Photographs
Despite the heavy cameras and gear photographers carry, the most important tool we have to create stunning photographs of your wedding day is light. Earlier in the day this means the natural light, both outside and streaming in through windows; in the evening this means the ambience created using string lights and/or candles.
Personally, in pursuit of the best photographs, when shooting indoors I spend much of a wedding day turning out overhead pot lights, and when shooting outside spend much of my time hopping between patches of light and shadow. I always appreciate the opportunity of planning together ahead of time to consider the available light throughout your wedding day. This way we can be sure to capture the best photographs throughout the entire day, rather than just the fabled ‘golden hour’ at sunset.
Lighting for the Best Getting Ready Photographs
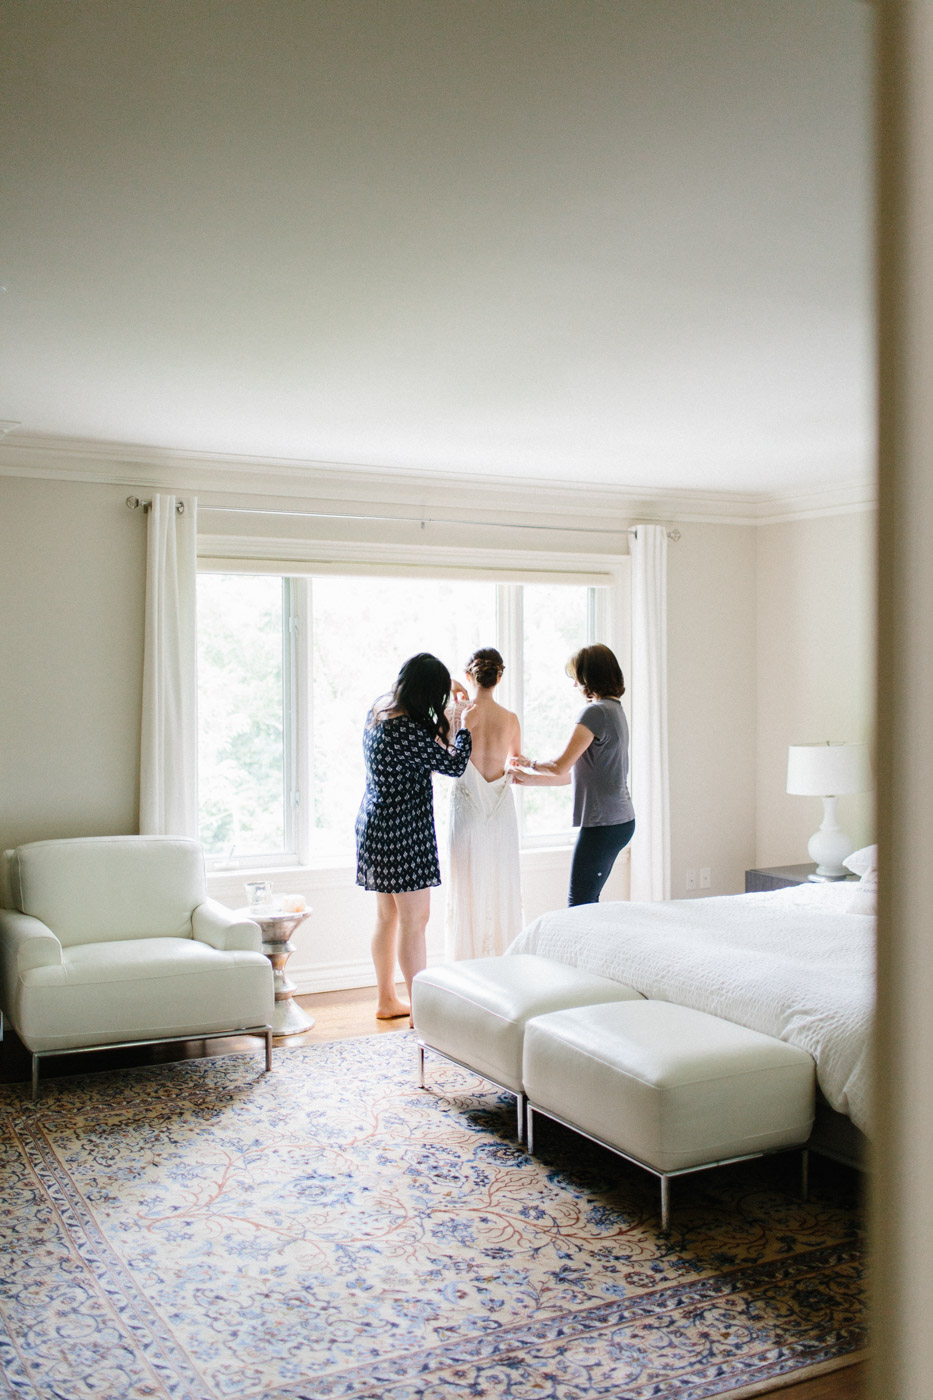
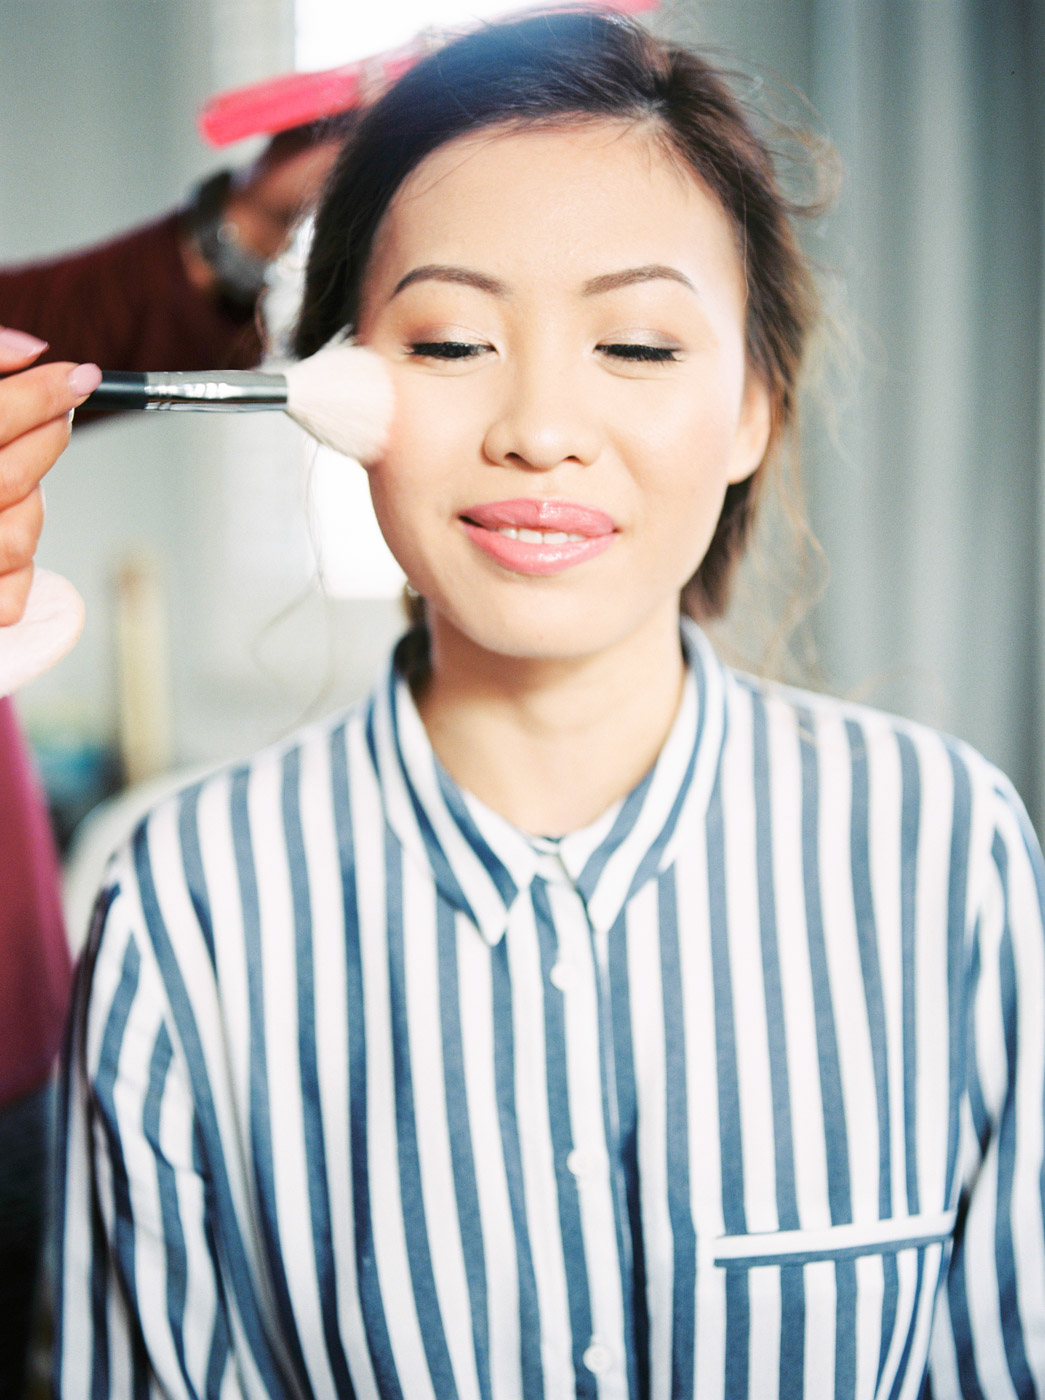
The getting-ready portion of the day is often when I have the opportunity to capture some of the most meaningful and candid photographs of you with your family and closest friends. Being able to take advantage of good lighting can elevate these photographs from being simply meaningful portraits to visually stunning and beautiful memories that will be a joy to see for years and decades to come.
I always urge my clients to think about the light in the rooms where they will be having their makeup done, getting dressed, reading letters or rehearsing vows, and spending time with those closest to them. Brides and grooms should choose the brightest possible rooms with lots of natural window light coming in, and light coloured walls or furniture. Spaces with minimal clutter also appear brighter by removing dark objects (aka ‘black holes’) from the background. For example keeping bags and suitcases in another room and taking a moment to clean up surfaces like desk & counter tops will minimize dark coloured clutter in the photographs.
Consider asking your hair and makeup artists to set up as close to a window or natural light source as possible. I always try to turn out artificial lights when I arrive, as they have a different color spectrum than natural daylight, so, to repeat, try to choose rooms that are well lit even when all the lights turned off.
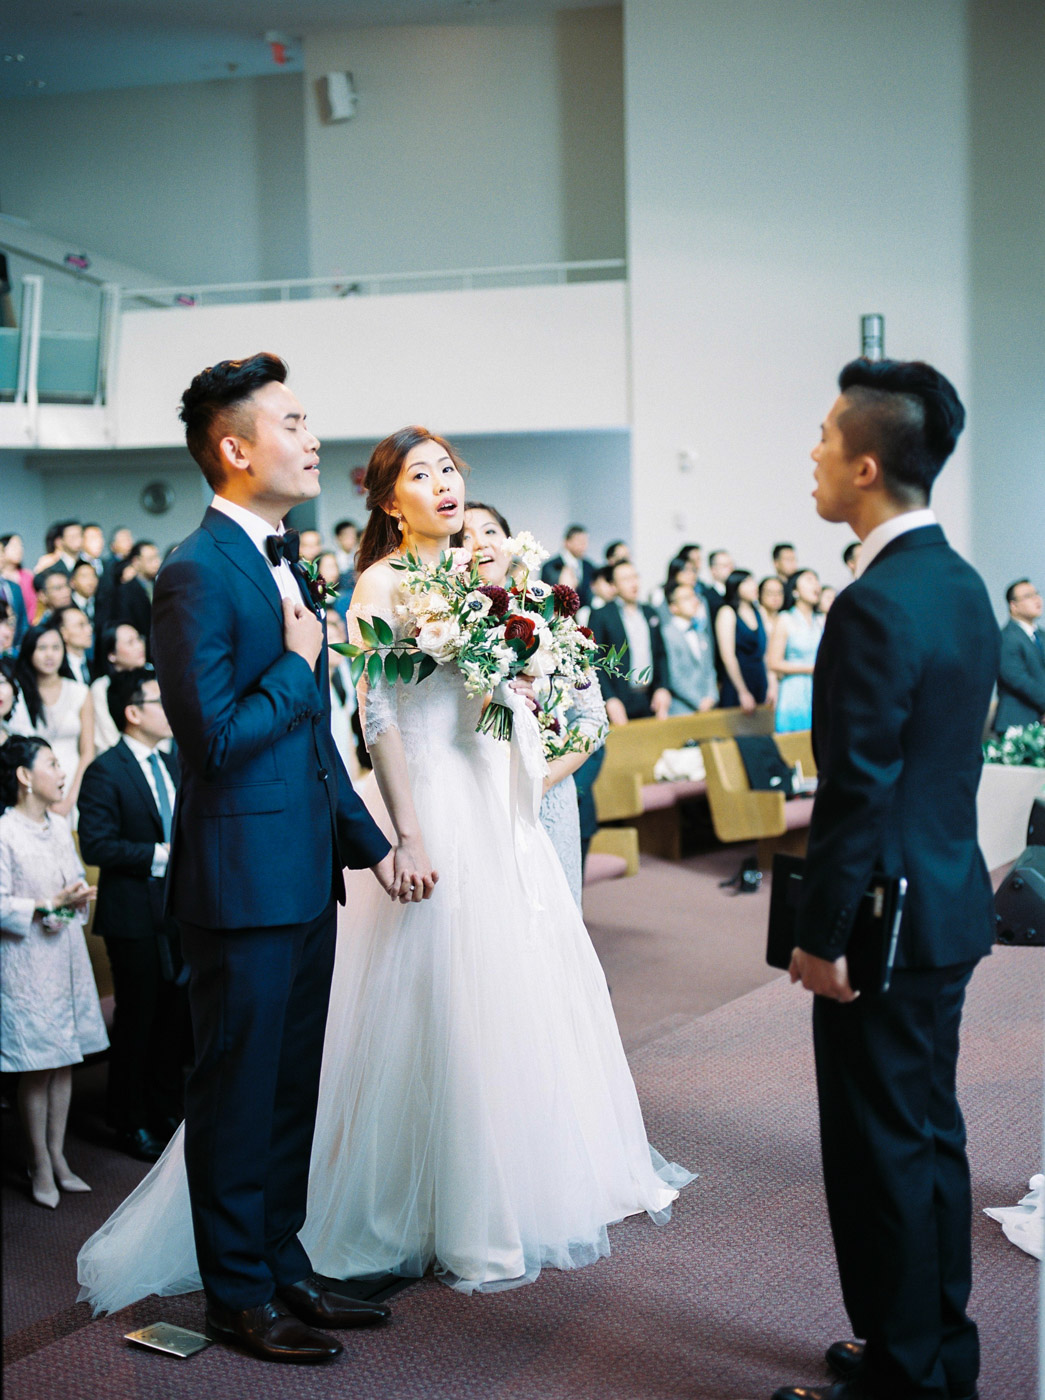
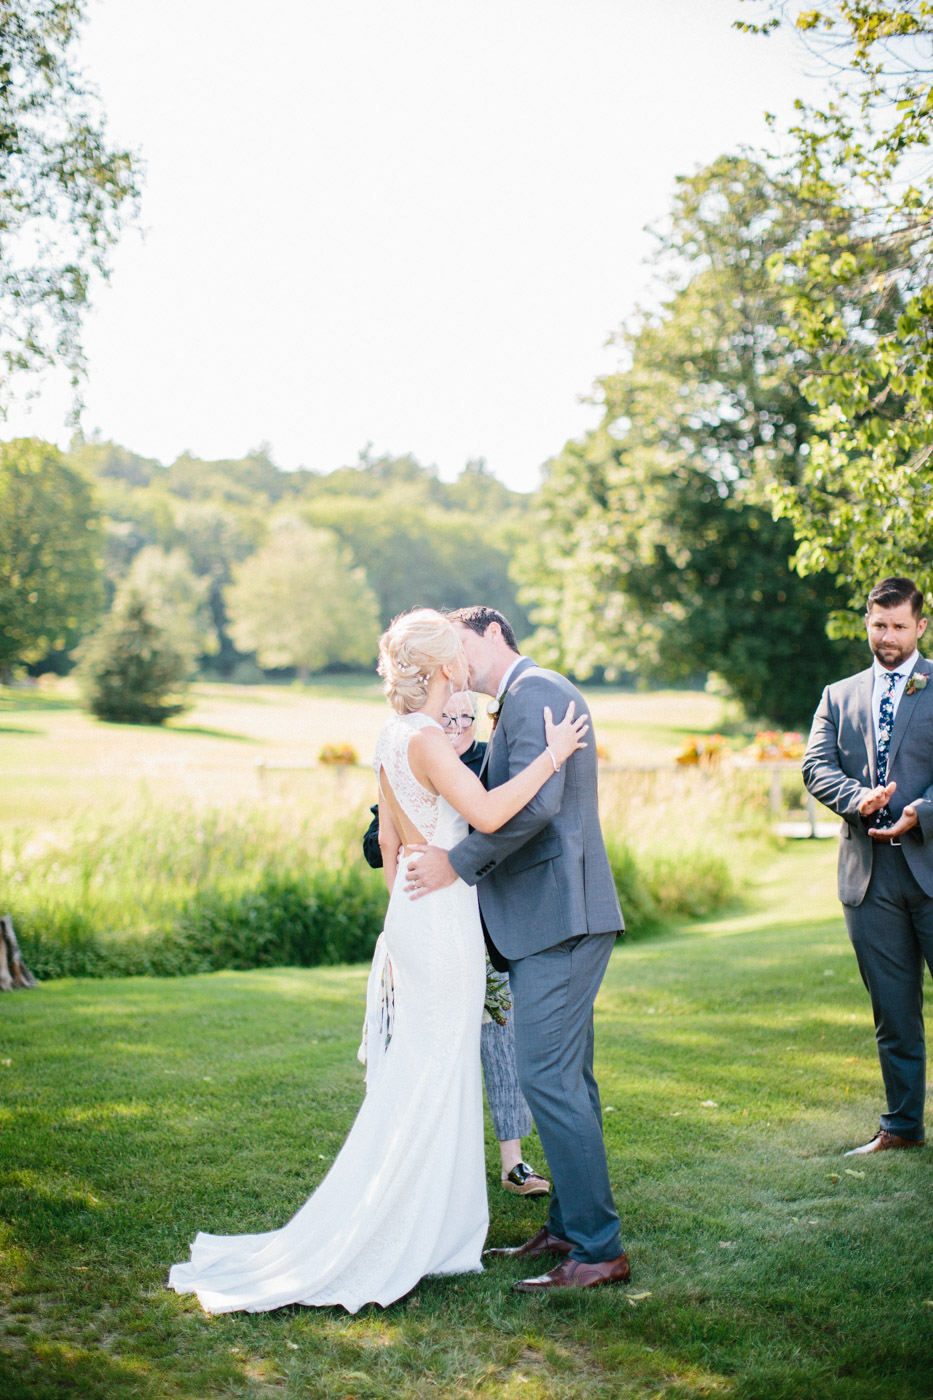
Lighting for the Best Ceremony Photographs
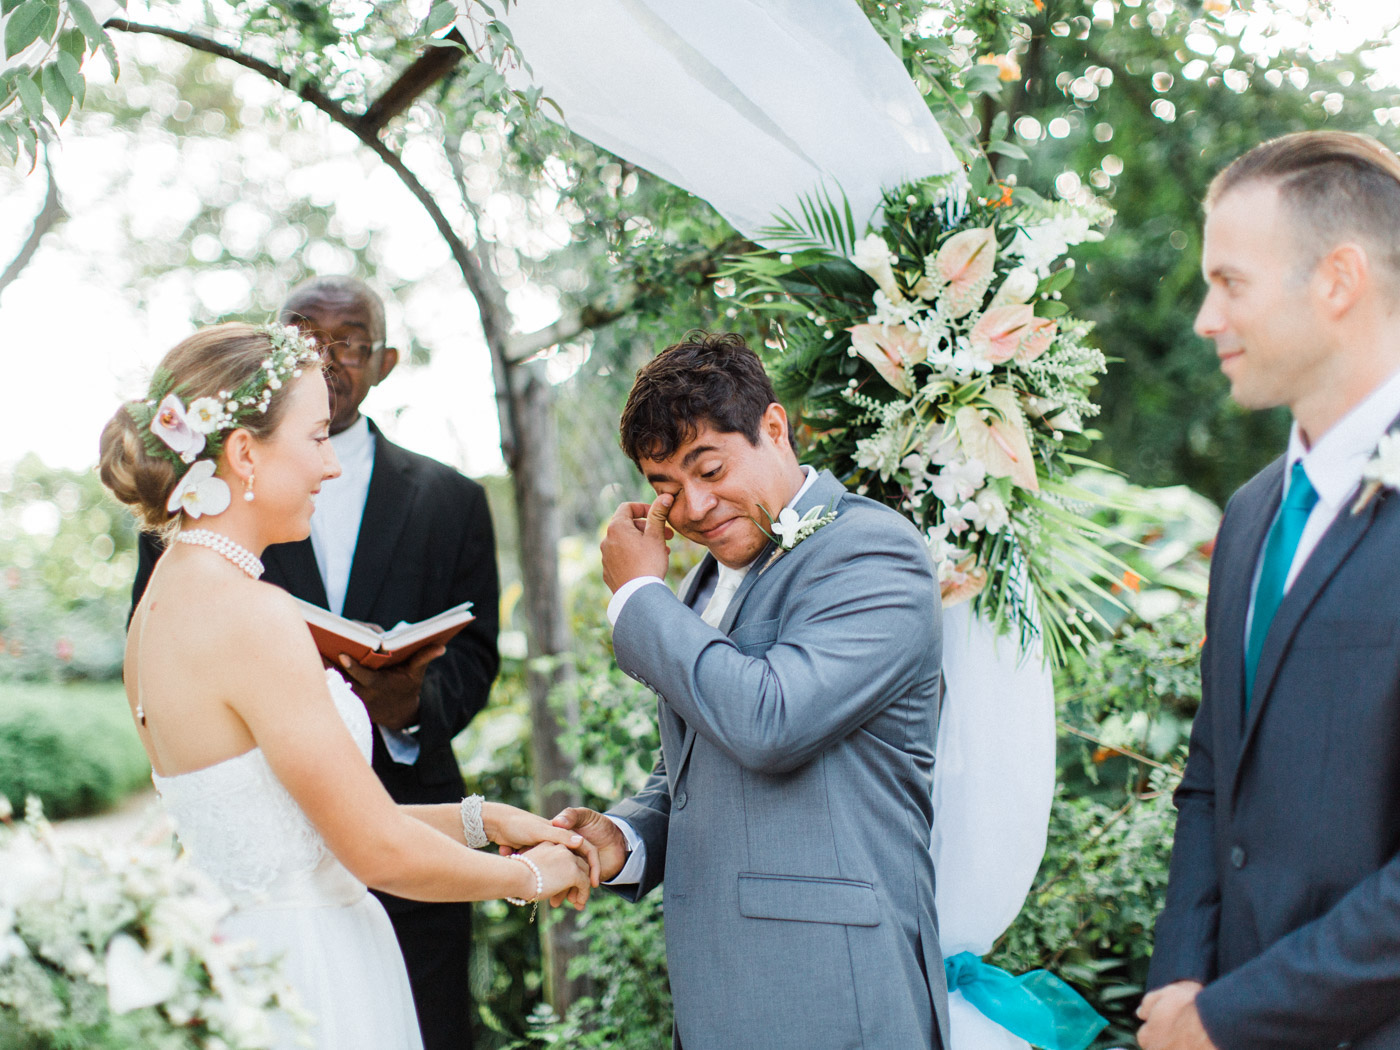
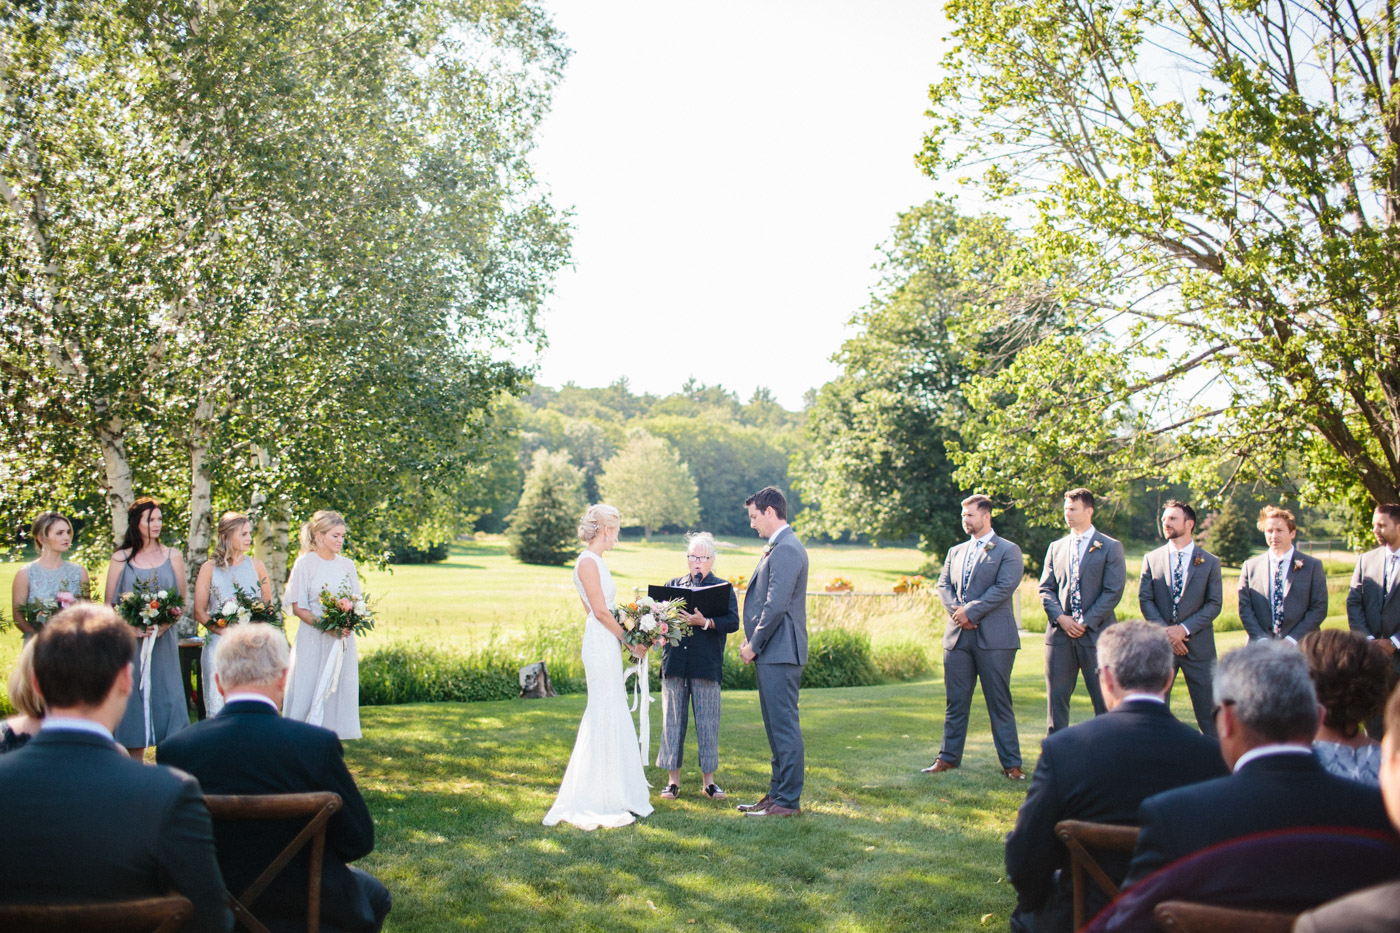
Ceremony photographs can take place either outdoors or indoors, and with the right lighting both can make for beautiful photographs of this important part of your wedding day.
If your ceremony is outdoors, consider the time of day and location. Time of day affects how high the sun is in the sky, with the general rule being that direct overhead light appears ‘harsh’, and doesn’t make for the most flattering photographs. If your ceremony is at a time of day when the sun is high, think about choosing a location that will be shaded during that time. Look for shady spots created by trees, buildings, porches, gazebos, rocks, anything goes. If the sun won’t be directly overhead for your ceremony, try to organize your ceremony setting so that the light is somewhere behind you, and so that hard light isn’t falling onto one of you and not the other.
If your ceremony is going to be indoors, try to choose a room that has plenty of natural light available. Plan to turn off light sources that cast hard shadows on your face, such as overhead pot lights and spot lights. Although being close to a window is ideal, the way that most indoor ceremony locations are set up means that chances are you’re going to be back-lit. This is fine for most photographs, but try to make sure there’s enough space between you, the wedding party, and the window that your photographer can get in between and capture at least a few photographs from the side where the light from the window will be falling directly onto or across your faces.
Finally, ask your guests to refrain from flash photography during the ceremony. Flashes from iPhones and other cameras can massively overexpose a photograph (and often destroy it) if they go off at the same time your photographer is taking a shot of a fleeting moment that won’t happen again.
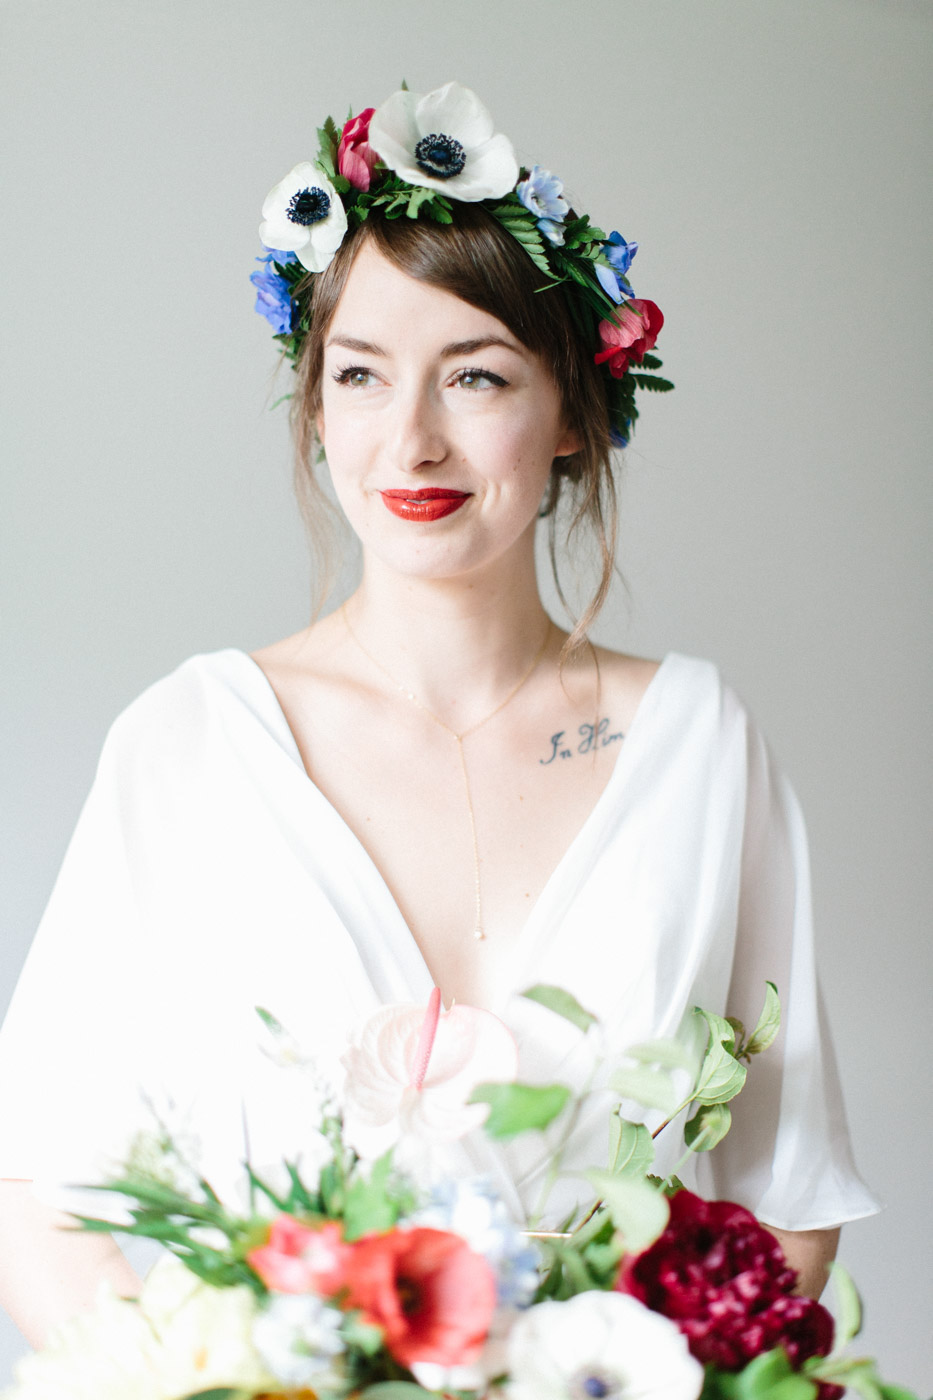
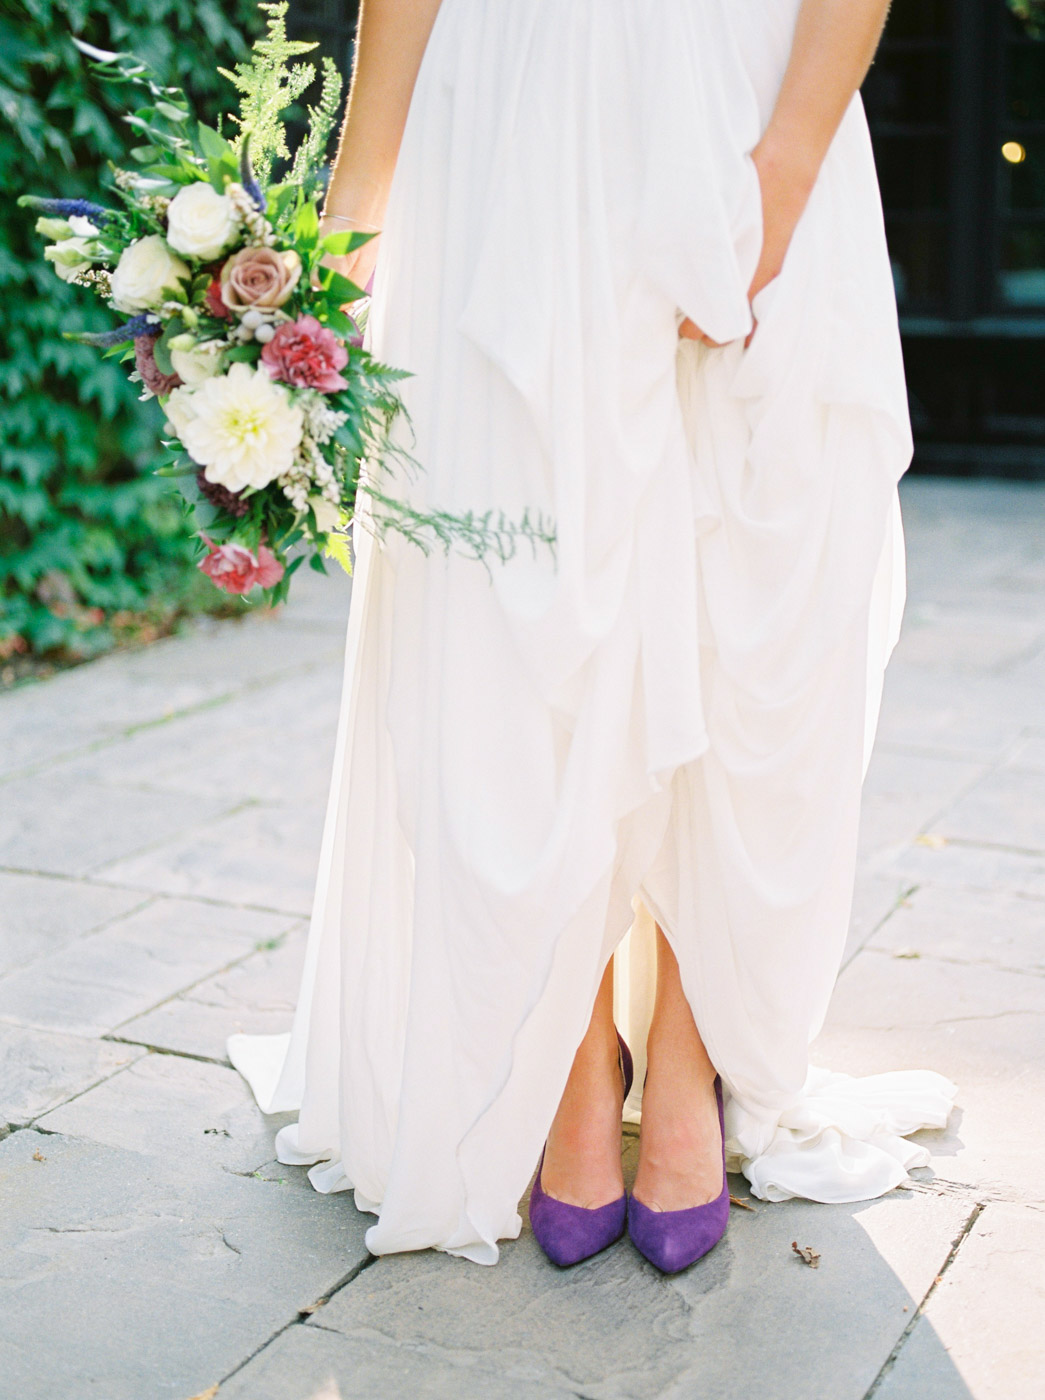
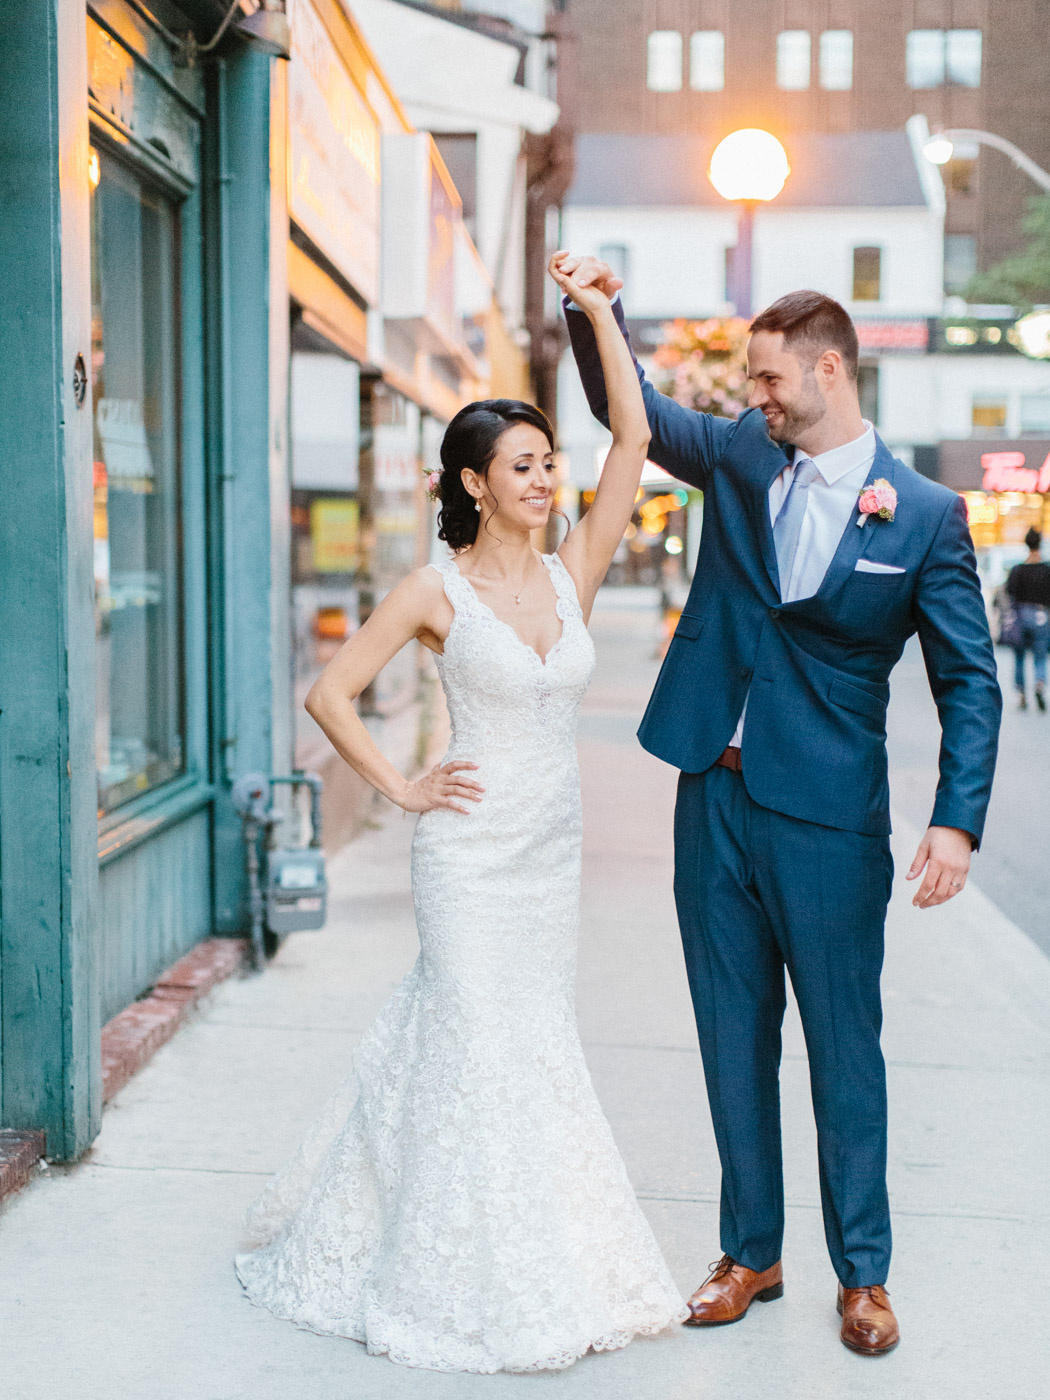
Lighting for the Best Portrait Photographs
I often recommend splitting portrait photographs up into three short sections throughout the day. This allows for the greatest variety of locations and light, avoids the potential problem of losing your one photo session if things start running late, and allows your photographer to capture the different emotions that occur over the course of an entire wedding day. Try to set aside three separate times for portraits together: right after your first look, directly following your ceremony, and while the sun is going down (which often means sneaking out of your reception for some peace and quiet!).
The lighting considerations at different times of the day will vary considerably, so give your photographer some leeway to move around and choose the right location. If you’re taking photographs indoors, choose locations with lots of natural light coming in. If you’re taking photographs outdoors when the sun is directly overhead, try to find locations with some kind of shade. Finally, if you’re shooting during golden hour or twilight, try to find a more open location where you can see the light. For example, waterfront, rooftops, and open fields are some of my favorite locations at this time of day.

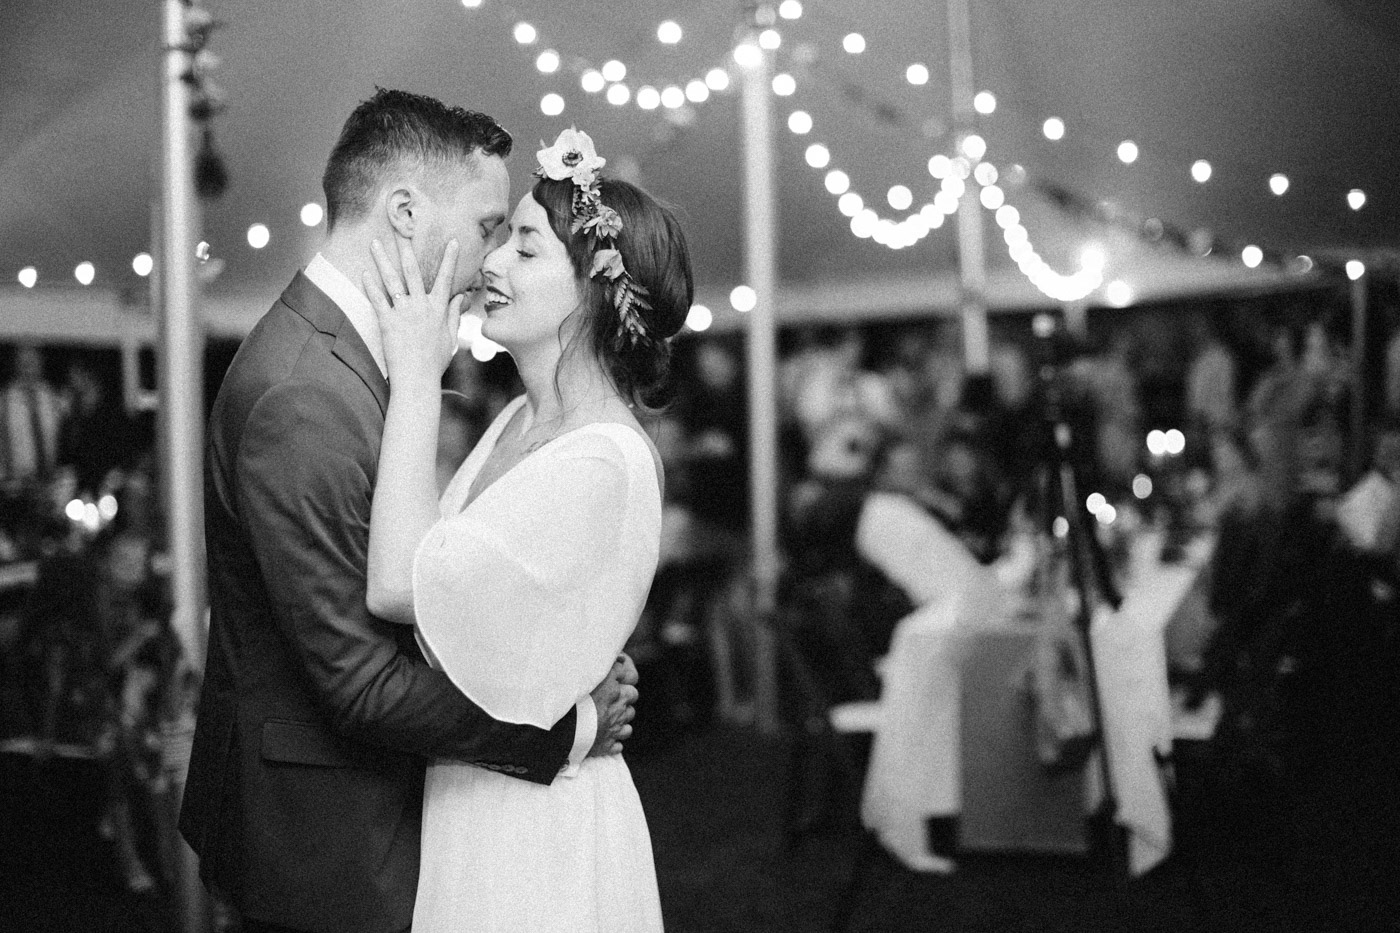
Lighting for the Best Reception Photographs
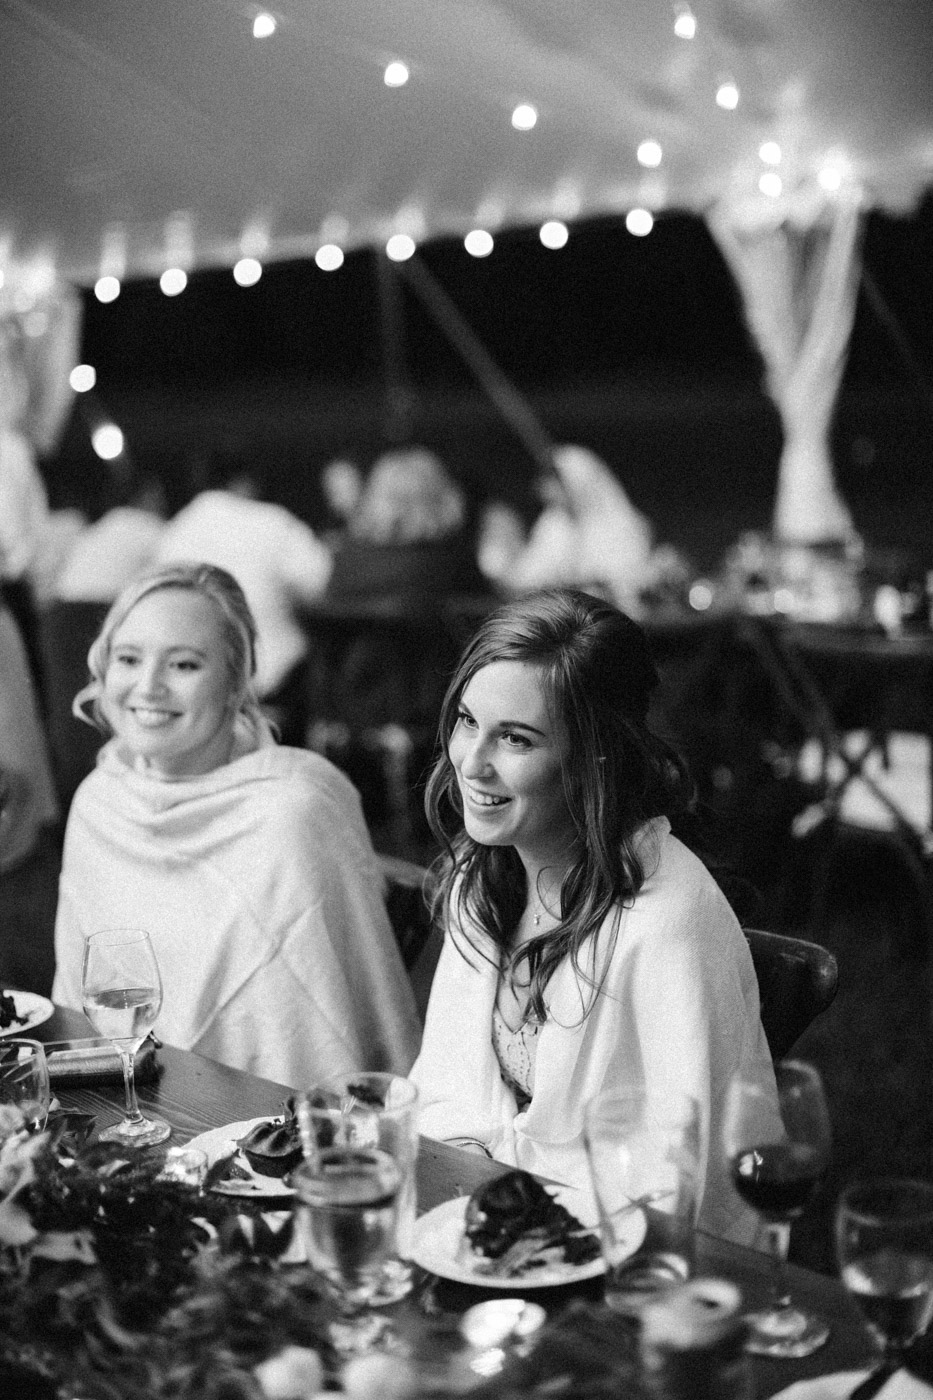
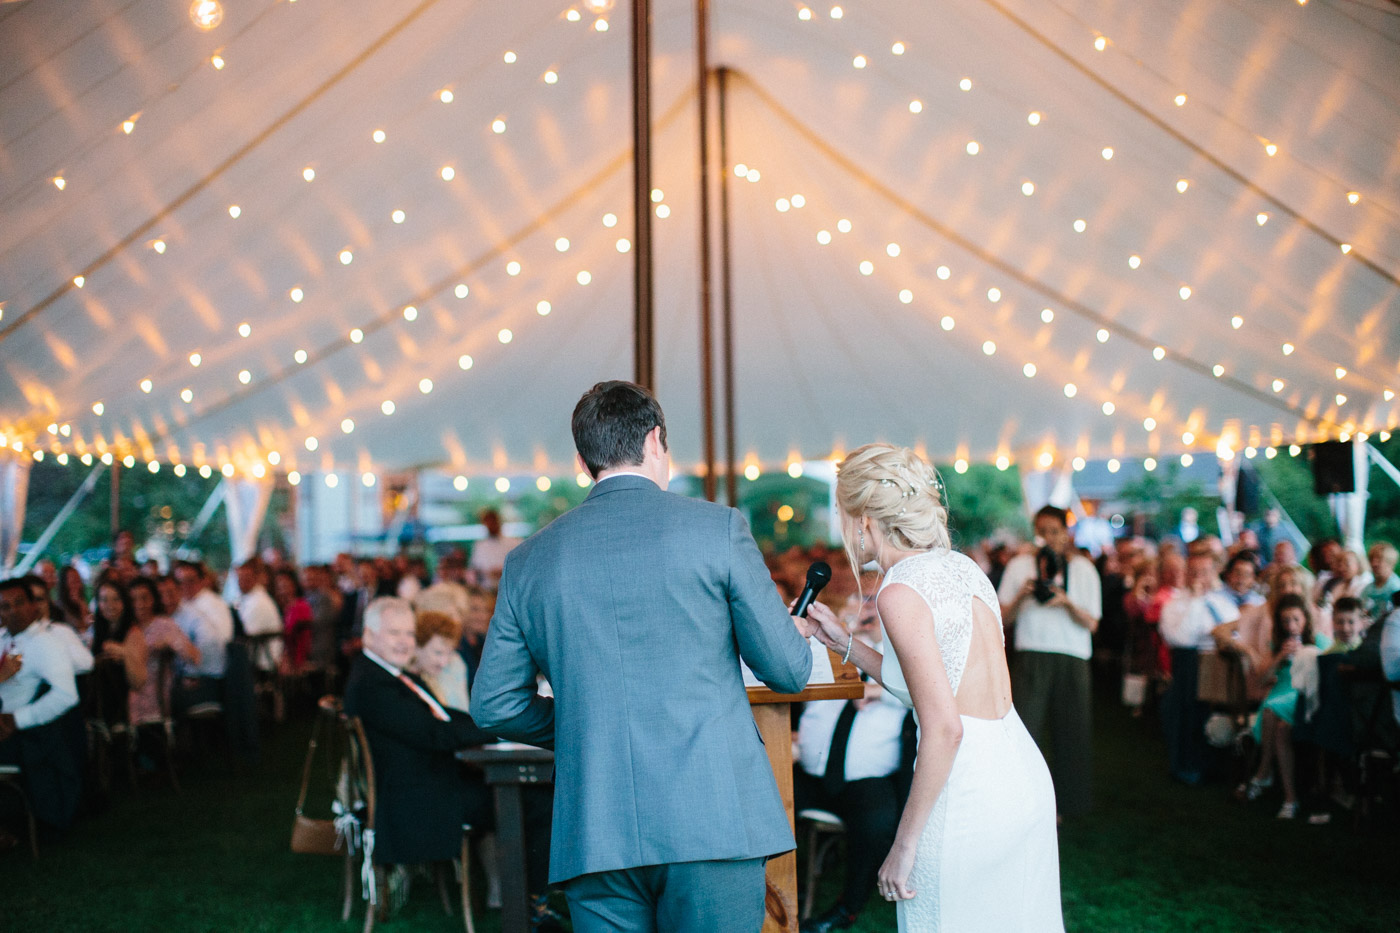
The reception is when the bulk of your wedding photographs will be taken; so don’t forget to think about how you can light it to create the best ambiance in your photographs!
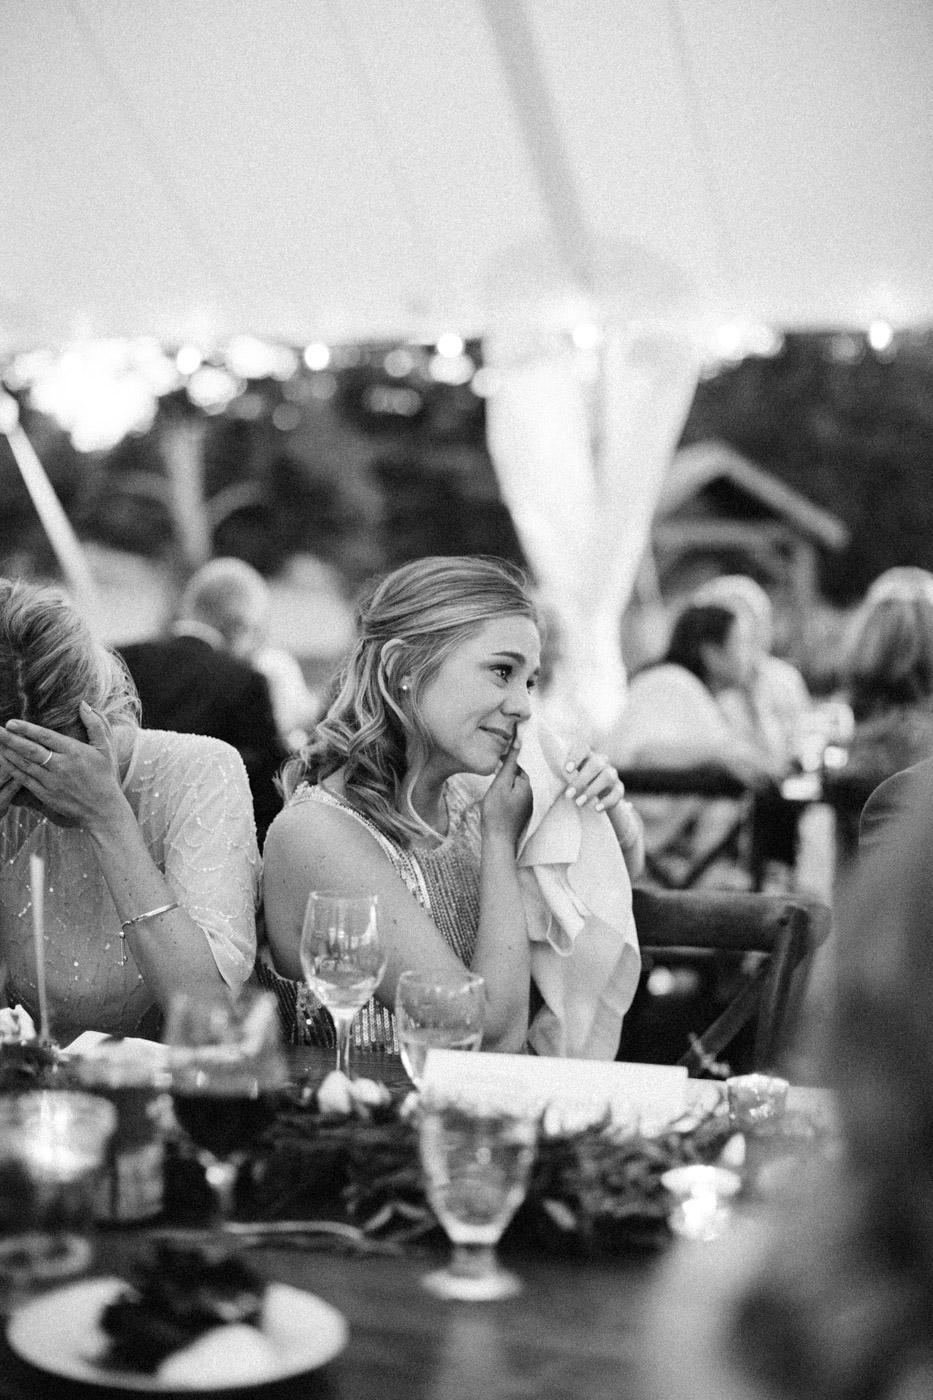
There are multiple ways to light your reception, but my personal favorites are candles and strings of Edison lights. If you choose to light your reception this way, adding enough candles to the tables and plenty of Edison lights overhead will allow me to use only the soft light cast by these sources to create beautiful, soft, and romantic looking photographs without a flash. If you haven’t guessed yet, pot lights are my enemy as a photographer. Please please please turn them off, they often aren't a good source of ambient light, and create unflattering shadow lines on faces such as dark under eyes and nose-shadow-moustaches.
For speeches and presentations, talk to your venue and DJ/band to make sure there aren’t any oddly colored spotlights directed at the subject, or flashing dance lights moving over the podium. These will create a weird colour tone, or throw off the exposure of the camera as the subject changes quickly from light to dark as lights flash over them.
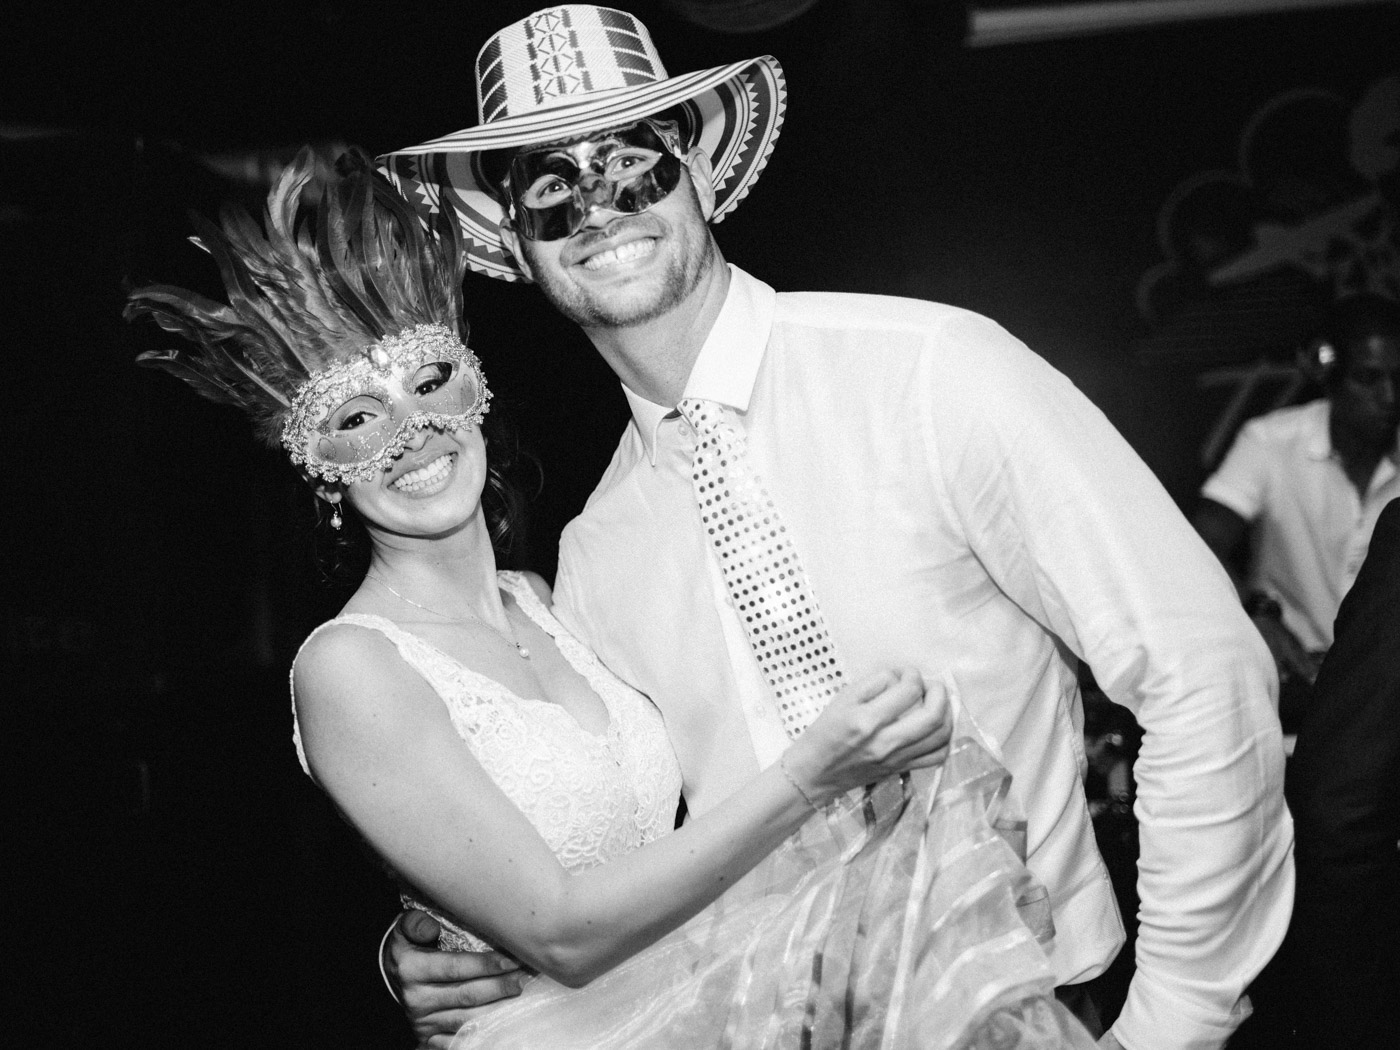
Finally, lighting for your dance! I often use a flash during this portion of the evening to freeze motion, so your external lighting can be creative! DJ lights are fun and colorful, and background or overhead lighting like more string lights make for fun lines of light blurring through the photograph. It’s hard to go wrong with dance lighting!

These are what I personally find the best options to be for lighting over the course of a wedding day. It’s worthwhile taking some time to talk to your individual photographer about how to light your own wedding based on the style of photography you’ve chosen. No matter what the style, taking the time to talk to your photographer about light will help them do the best job creating wedding photographs you both love.